
The Settings tab holds the options that apply to your whole company:
- your logo;
- whether people can approve their own hours;
- which columns the time entry sheet shows, and which must be filled in;
- your time zone, entry deadline and payroll lock.
Only people whose role can change company settings, such as the built-in Administrator role, see the Settings tab. Changes save as soon as you make them.
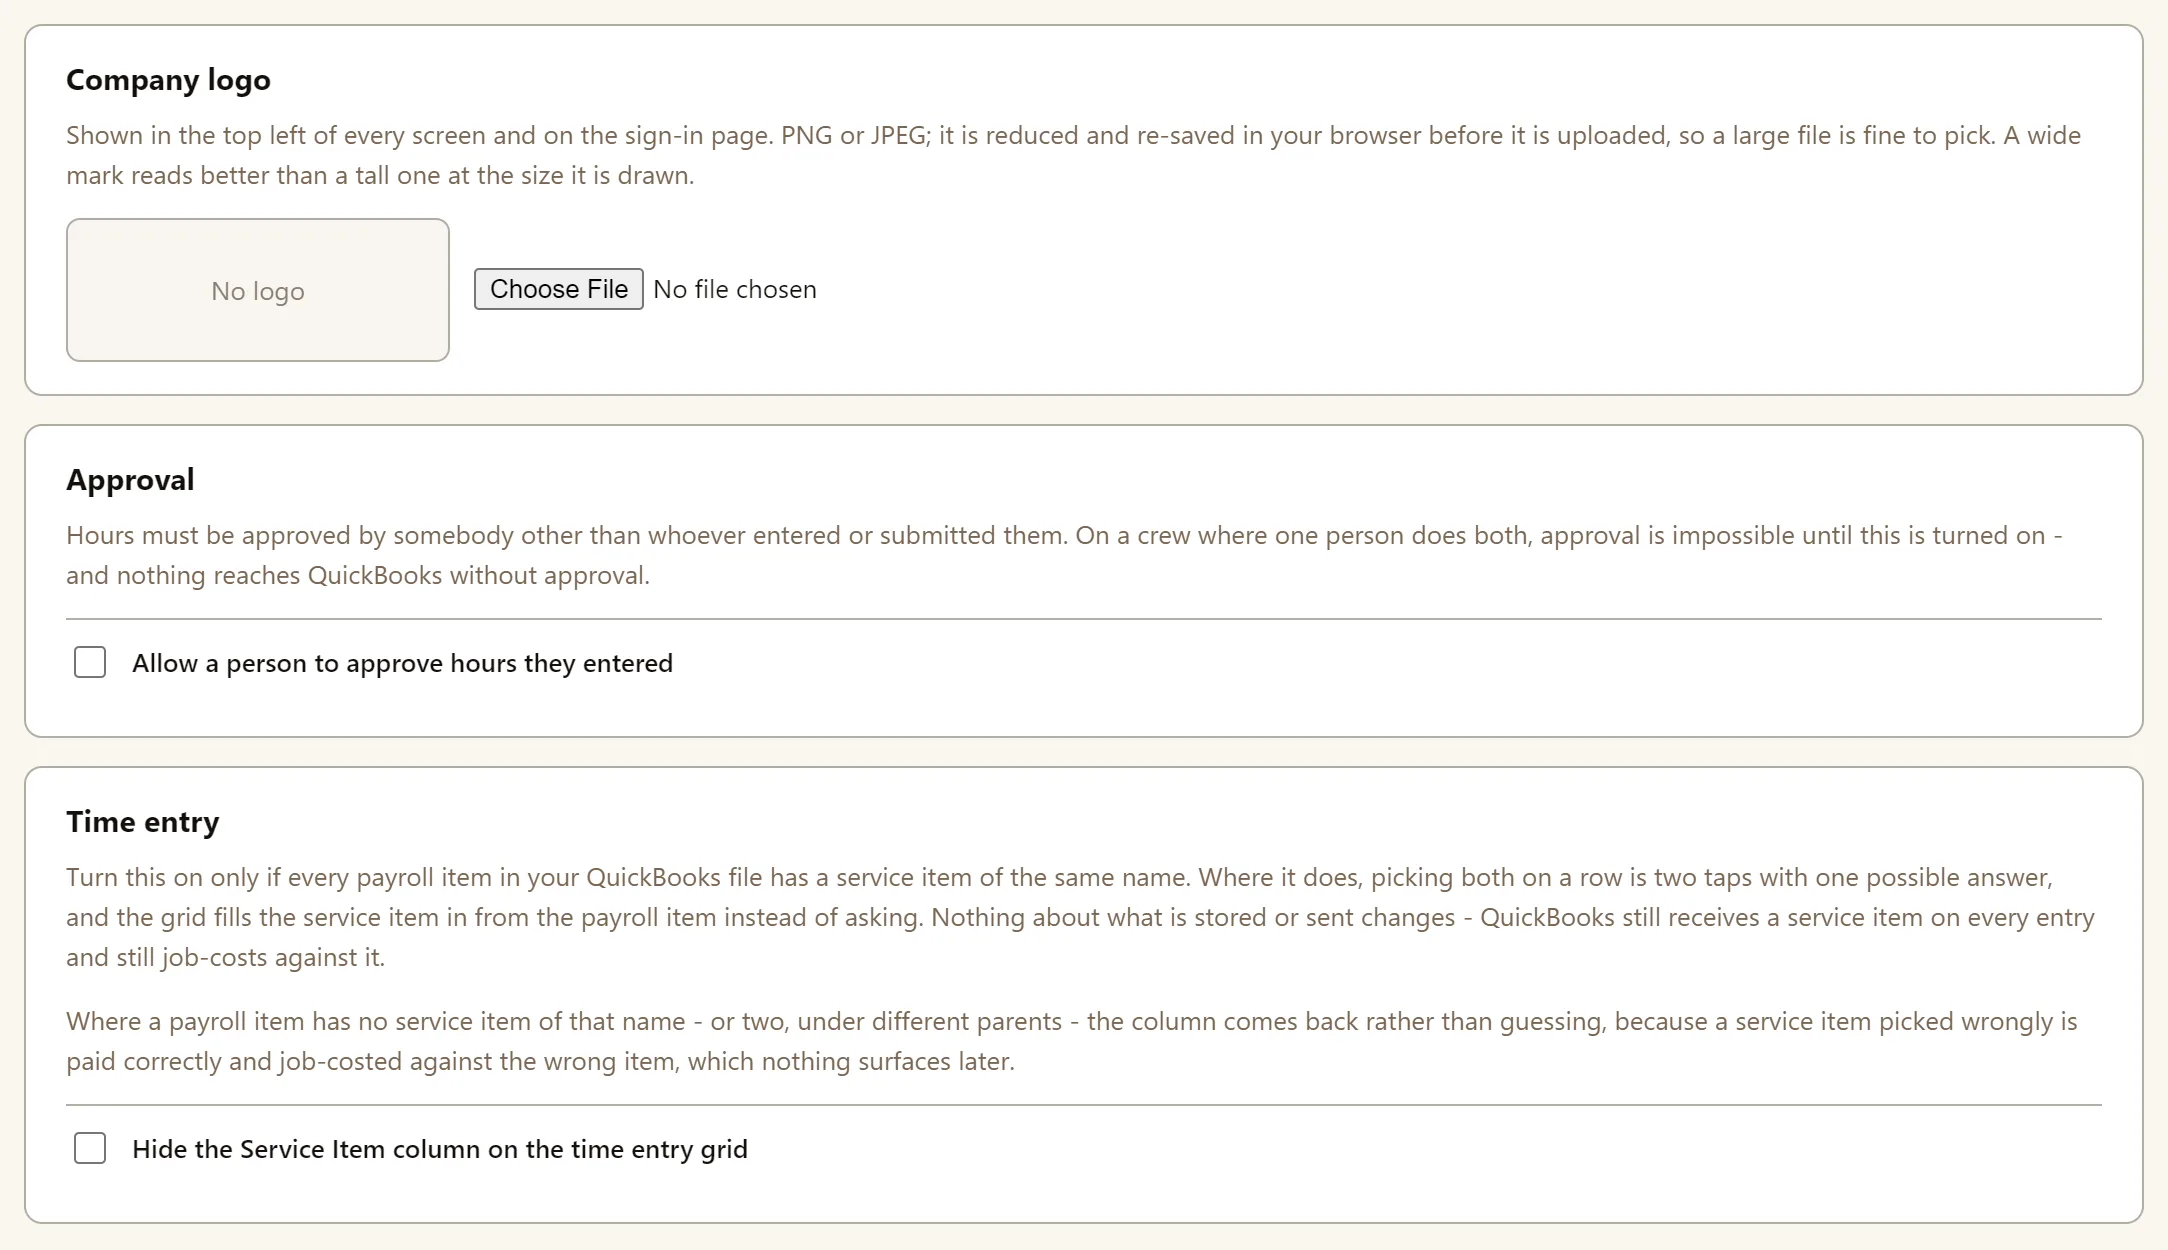
Company logo
Your logo is shown in the top left of every screen and on your sign-in page. Choose a PNG or JPEG.
Approval: Allow a person to approve hours they entered
Off by default. While this setting is off, a week has to be approved by somebody other than the person who entered or submitted it.
Turn it on if one person both enters and approves hours, for example in a small office. Nothing reaches QuickBooks without approval, so on such a crew no hours can be approved until the setting is on.
Time entry: Hide the Service Item column on the time entry grid
Off by default. Turn it on only if every payroll item in your QuickBooks file has a service item with the same name. The sheet then fills the service item in from the payroll item, so each row needs one choice instead of two.
QuickBooks still receives a service item on every entry, and job-costs against it. If a payroll item has no service item of the same name, or has two, the column appears for that row and the user is asked to select the correct service item.
Job list: Show the customer in the jobs list
Off by default. This only changes how the job list on the time entry screen looks:
- Off: customers are hidden, and jobs are sorted A to Z by name.
- On: jobs are grouped under their respective customer. List is sorted alphabetically by customer by job.
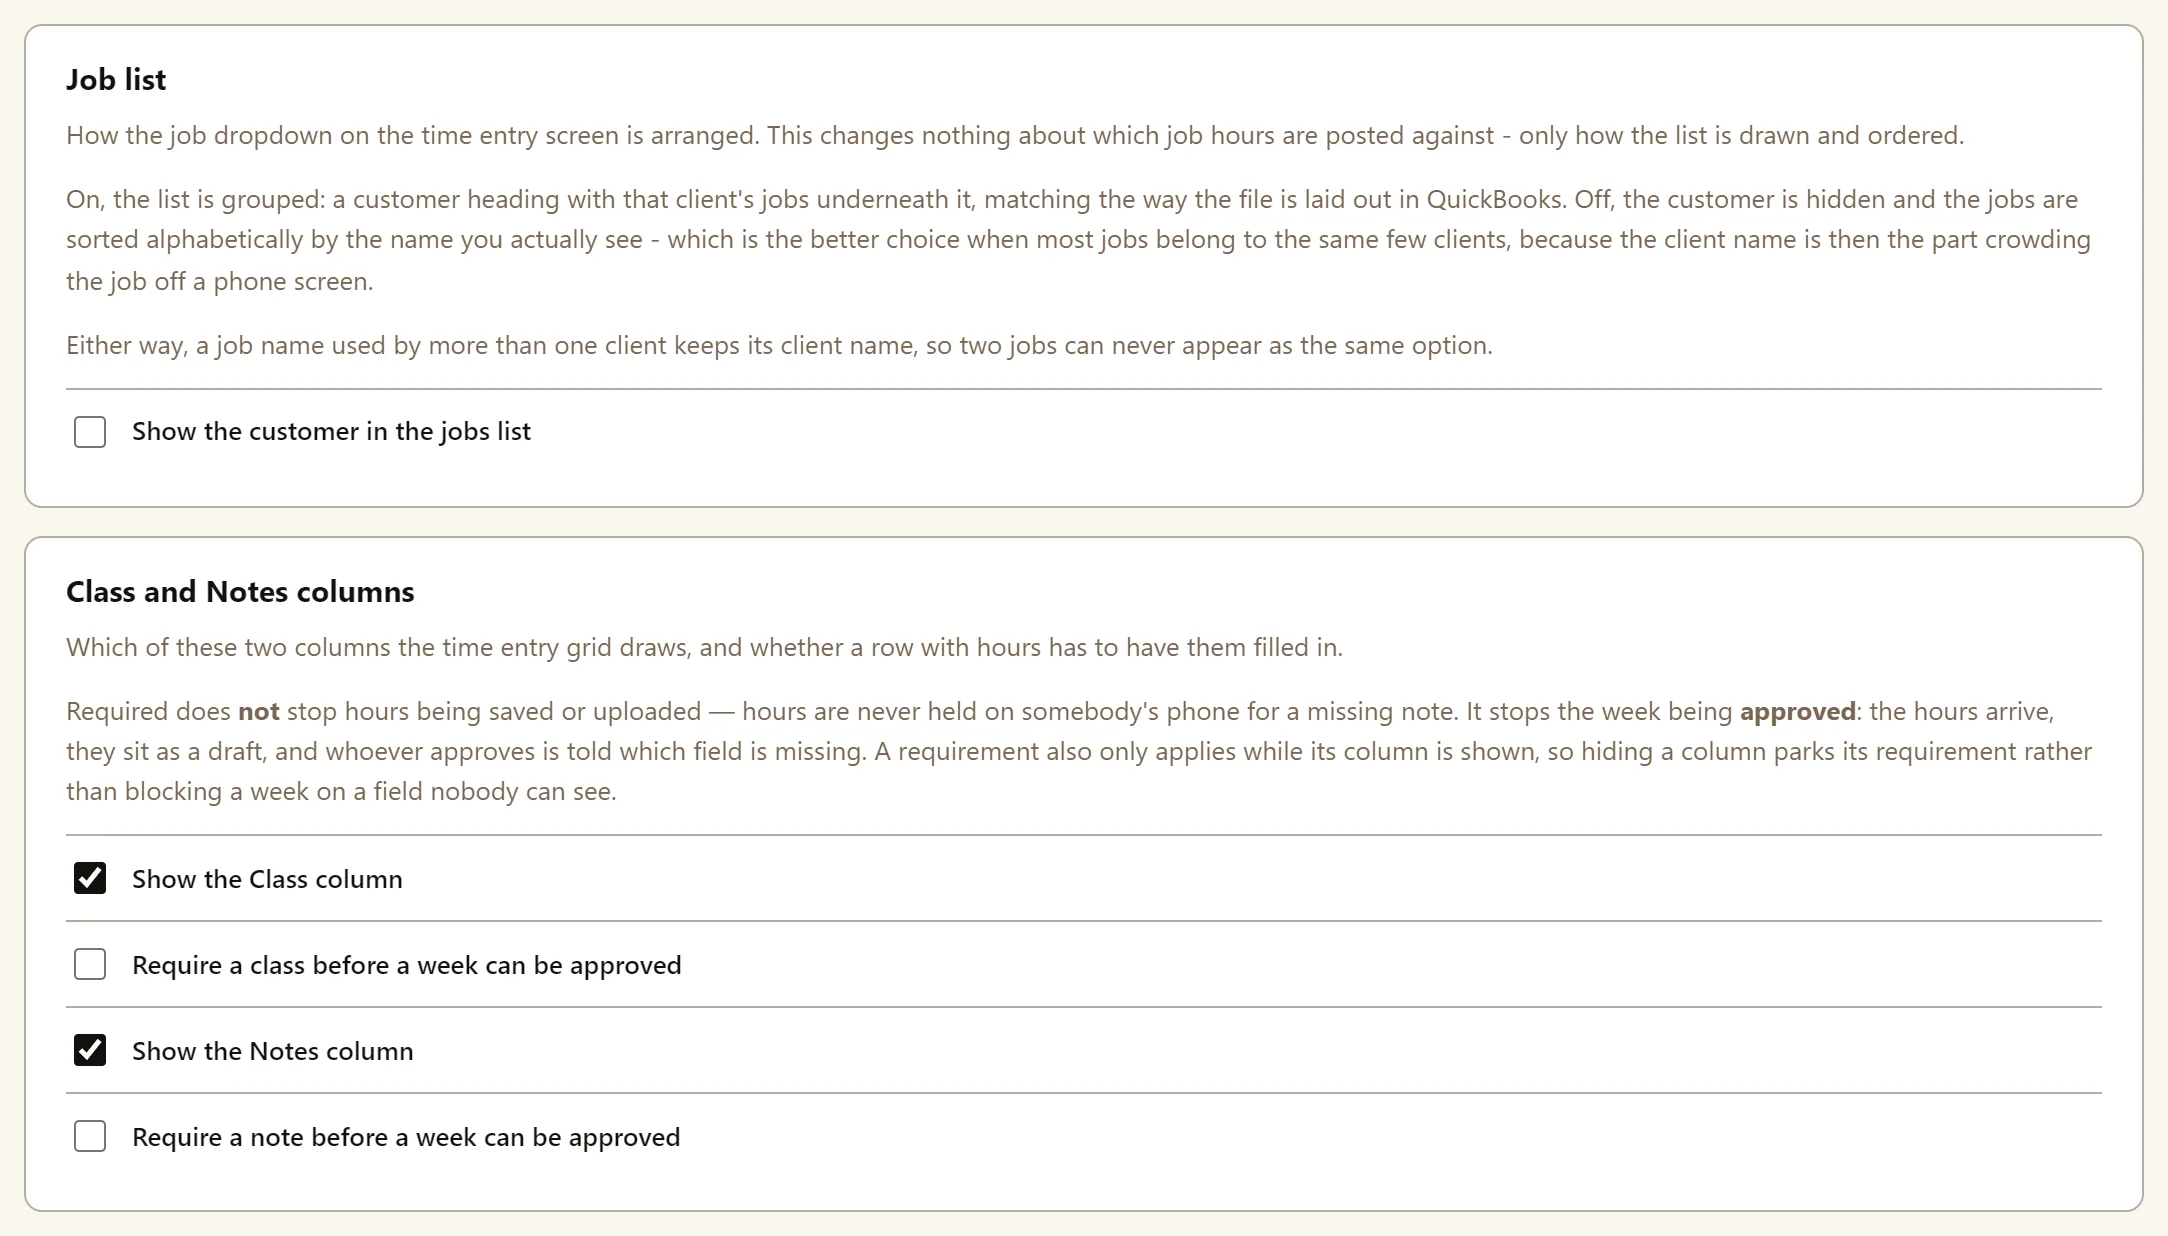
Class and Notes columns
These four boxes control the time entry sheet’s Class and Notes columns:
- Show the Class column (on by default)
- Require a class before a week can be approved (off by default)
- Show the Notes column (on by default)
- Require a note before a week can be approved (off by default)
These requirements do not prevent hours from being saved or uploaded. They stop the week from being approved. When trying to approve a week that is missing required fields, a message is shown indicating which rows are missing information.
A requirement only applies while its column is shown. The Class column only appears if class tracking is turned on in your QuickBooks company file.
Time zone
Set during TimeSheeta company creation. Set to where your crews work. Pick a zone from Company time zone, or press the button to use the one this device is set to. Once set, it can be changed.
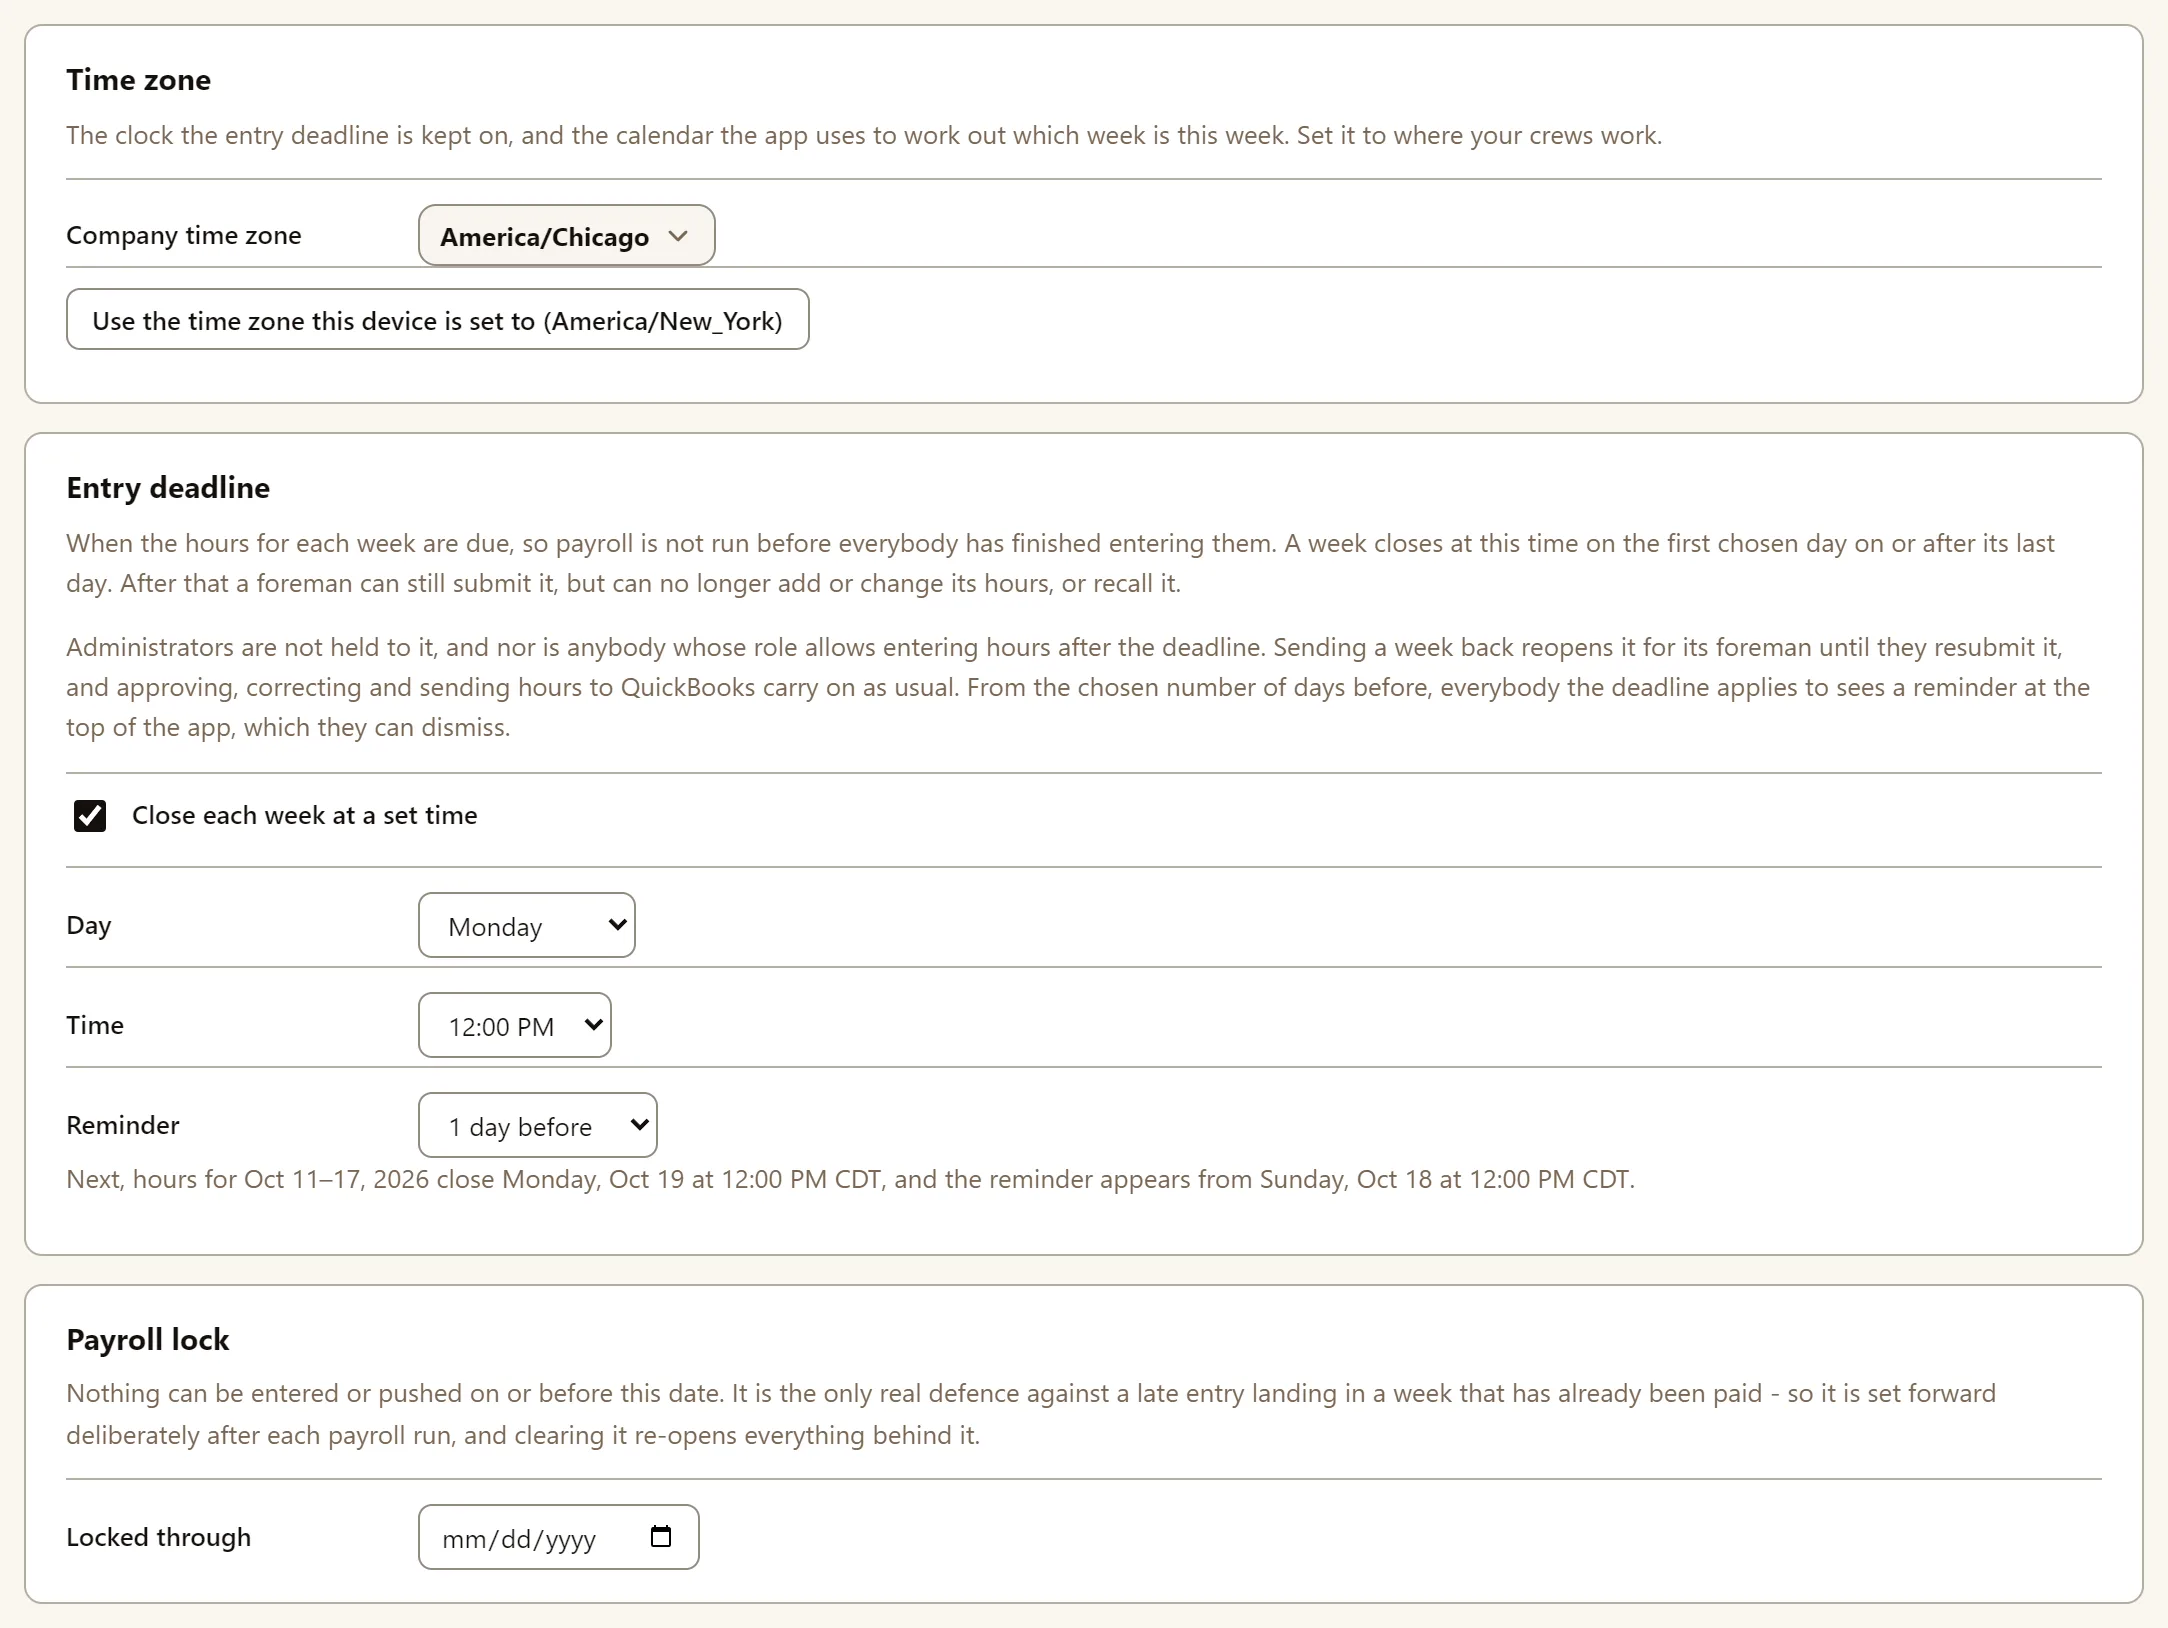
Entry deadline: Close each week at a set time
Off by default. Sets when each week’s hours are due, so payroll isn’t run before everybody has finished entering time. Requires the time zone to be set first.
When you tick Close each week at a set time, choose:
- Day, such as Monday. A week closes on the first chosen day on or after its last day.
- Time, such as 12:00 PM.
- Reminder, from 1 to 6 days before. A banner at the top of the app reminds people when this week’s time needs to be submitted by.
The settings show the next deadline as an example, so you can check it.
After the deadline, a foreman can still submit the week, but can’t add or change its hours.
Approving, correcting and sending to QuickBooks carry on as usual.
Payroll lock: Locked through
Empty by default. No hours can be entered, submitted, approved or sent to QuickBooks for a week that starts on or before the Locked through date. Helpful if you want to ensure data is not sent to QuickBooks from TimeSheeta when first familiarizing yourself with the application.
What isn’t on the Settings tab?
- The first day of the week comes from your QuickBooks company file.
- How often TimeSheeta re-reads your QuickBooks lists is on the QuickBooks tab.
- The overtime warnings are fixed at 8 hours a day and 40 a week. They are reminders only.